It’s natural for computers and other electronic devices to wear down over time. Continuous use can strain the devices’ components, resulting in breakdown or failure to function at full capacity.
In the case of BGA chips, the most pressing issue is the failure of solder joints. These failures result in several significant problems that render these devices faulty at best or useless at worst. One common cause of solder joint failure is the loss of picture on computer screen or television, which will often seem impossible to repair.
Fortunately, you can use BGA reballing to address these issues and save the cost of replacing faulty equipment.

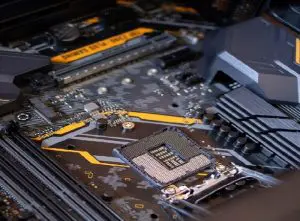
(Athena/Pexels)
What is BGA Reballing?
BGA reballing involves replacing all the soldered balls on a chip’s ball grid array (BGA).
A BGA is a surface-mount package constructed with a grid of solder balls across its face. These solder balls are usually made of copper, lead, silver, or tin and are laid out in a grid of 4x, 6x, or 8x balls. Their size and shape make them ideal for limited-space applications, such as portable devices, and their design allows greater component placement flexibility.
If these solder balls should lose their efficacy, components become misaligned, or circuits falter, reballing will help rectify it. A trained technician accomplishes this by removing all the present solder balls from the board’s surface. Then, they clean the board and install the new solder in the available space.
How does Reballing Help?
Reballing a board is more cost-effective than replacing the whole board. Replacing the components will prove costly in the case of regularly-used machinery. Having currently installed components repaired will almost always be a better option, and reballing is an ideal way to bring BGAs back to full functionality. In many cases, reballing replaces lead-free solder balls with leaded ones.
Another reason for reballing is to upgrade BGA chips with more powerful or faster components. Due to the large-grid layout of a BGA, it is much harder to remove individual components without affecting the surrounding areas. It is far better for the life of the board to have each solder ball replaced rather than to allow for uneven patches of new and older ones to run side by side.
When a board overheats, its components heat up as well, allowing the current solder to weaken and break the circuit between components. In worst-case scenarios, heated solder balls can seep out of their divots and melt together, forming bridges that can short circuit the board entirely.
Unfortunately, one of the most common candidates for reballing is the video graphic chip, (VGC) which often requires multiple repairs throughout its lifespan. This is due to its constant use, and, unfortunately, is not an issue that has a solution.
How is Reballing Done?
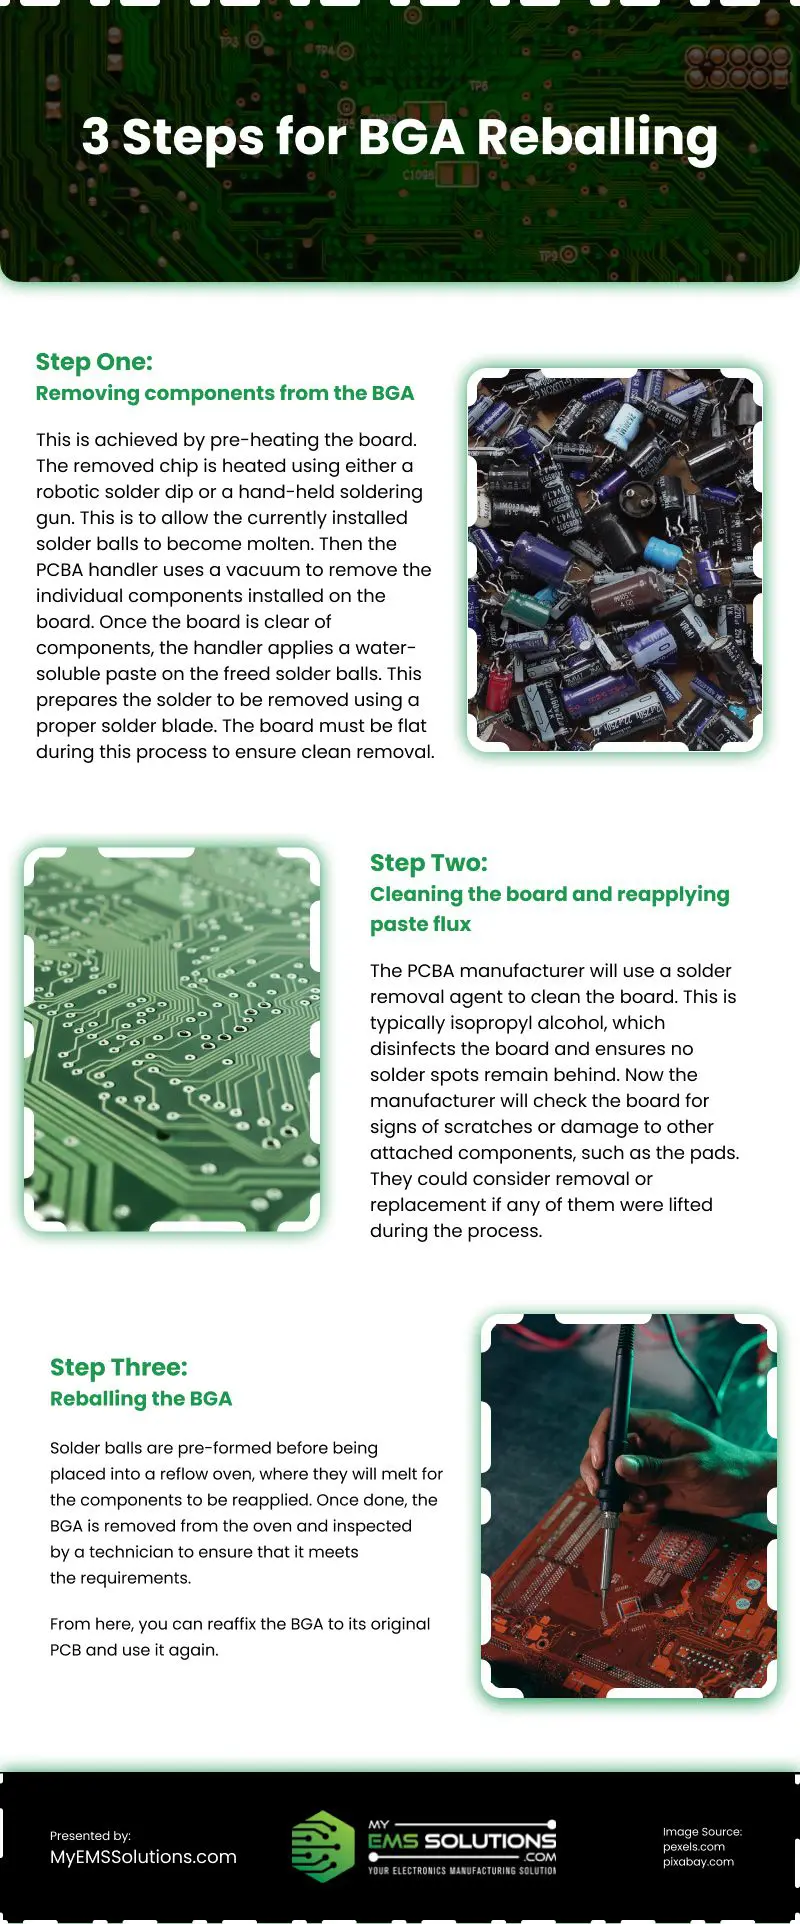
The process of reballing a BGA is relatively simple, though best done by a trained professional. Many EMS solutions offer this service as part of their PCB catalogs. The process consists of three main steps split into a few tasks. These are:
Step One: Removing components from the BGA
In the first step, the manufacturer removes the reballing BGA chip from the PCB. This is achieved by pre-heating the board, allowing it to reach a comfortable temperature and prevent any damage from occurring as it is heated further. The removed chip is heated using either a robotic solder dip or a hand-held soldering gun, which is applied to each solder ball. This is to allow the currently installed solder balls to become molten. When this happens, the PCBA handler uses a vacuum to remove the individual components installed on the board.
Once the board is clear of components, the handler applies a water-soluble paste on the freed solder balls. This prepares the solder to be removed using a proper solder blade, which scrapes free the remaining solder without damaging the board’s surface. The board must be flat during this process to ensure clean removal.
Step Two: Cleaning the board and reapplying paste flux
Next, the PCBA manufacturer will use a solder removal agent to clean the board. This is typically isopropyl alcohol, which disinfects the board and ensures no solder spots remain behind. Any remaining solder has the potential to interfere with the new components or cause them to come loose from the board.
Now the manufacturer will check the board for signs of scratches or damage to other attached components, such as the pads. They could consider removal or replacement if any of them were lifted during the process. A fresh paste flux is set where the new solder balls will be laid, and the board is fully prepared to be reballed.
Step Three: Reballing the BGA
Before being attached, the solder balls are pre-formed. Though the name solder ball implies spherical solder, this is not always the case. Rectangular or triangular solder balls are also used to aid PCB mounting. The manufacturer or assembler then places the solder balls in the same positions as the previous ones.
The next step is to place the BGA into a reflow oven, where the balls will melt for the components to be reapplied. Once done, the BGA is removed from the oven and inspected. If the technician is satisfied that it meets the requirements, then the BGA will be inspected more thoroughly to ensure that the issues have been resolved. This ensures that the balls were successfully transferred to the device.
From here, you can reaffix the BGA to its original PCB and use it again.
Faulty or bridged solder has many devastating effects on the functionality of a machine or device. Often these issues can only be resolved by replacing the parts entirely, which is costly and potentially problematic. Thanks to reballing, there is a much more reliable means for professionals to clean ineffective or broken BGAs and put them back into service.
Infographic
Computers and other electrical gadgets inevitably deteriorate with use. The breakdown of solder connections is the most urgent problem with BGA devices. The loss of image on a computer or television screen, which frequently seems unrepairable, is a typical reason for solder joint failure. Fortunately, BGA reballing may take care of these problems without the need to replace damaged equipment.

Video

