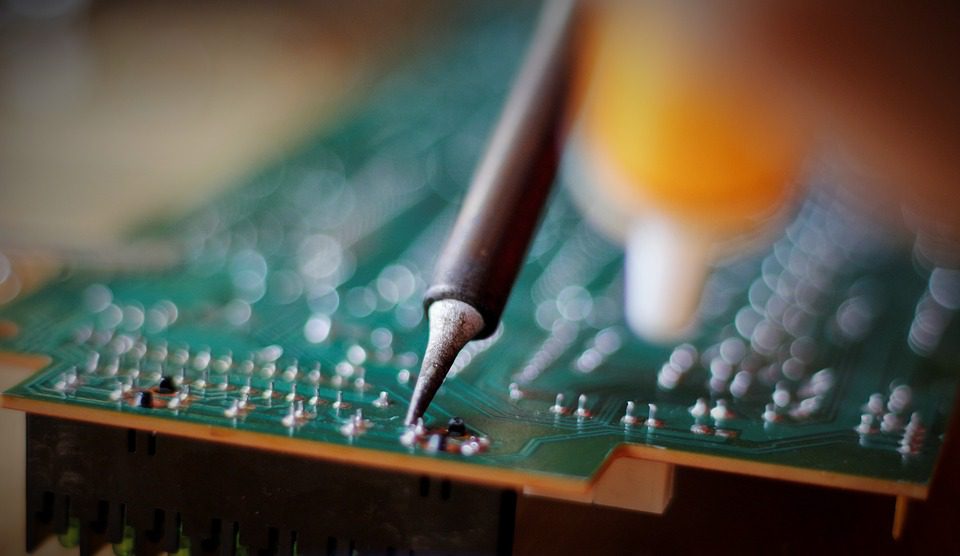
Printed circuit boards are generated using bulk soldering processes, such as wave soldering. Occasionally, though, hand soldering is needed. Hand soldering can be used on a PCB that failed inspection. It is also used to repair broken or malfunctioning PCBs.

(Pixabay / Tabble)
If you are new to hand soldering, there are a few steps to guide you through the hand soldering process for through-hole technology. Start by getting your supplies ready. Supplies include:
Soldering iron
A good hand-soldering job starts with the right soldering iron or soldering station. Depending on your project, you may need some specialty items. For example, ESD-sensitive PCBs (electrostatic discharge) require ESD-safe soldering equipment. If you are working with a lead-free project, the melting point will be higher. Thus, you will need soldering tools with a temperature control mechanism and high wattage.
Materials
Your soldering job will depend on the quality of your joints, which will, in turn, depend on the quality of your solder wire. It used to be that wire sizes were limited, but now you can choose from different diameters. And while tin-lead used to be the material of choice for solder wire, there are now lead-free options. Tin-silver-copper is the most popular alternative to tin-lead wire when it comes to lead-free solder.
In addition to wire, you will need some other materials such as flux, solder paste, etc.
Once you have all of your supplies ready for your hand-soldering job, take the following steps:
- Clean your PCB and the electronic component leads. Otherwise, you could end up with a poor solder joint.
- Deposit solder flux on the leads and on the parts of the PCB that need to be soldered. (A flux pen will make this easier.)
- Heat up your soldering iron.
- Hold your soldering iron in one hand and your soldering wire in the other. A solder wire reel stand can help you maintain the proper angle and tension.
- Find the point where the electronic component leads meet the copper on the printed circuit board. Place your solder wire here and apply heat at this contact point.
- Cut any extra leads.
- Examine your job. If it looks dull, there may be a problem. You want the joint to look shiny (except in the case of lead-free soldering which looks dull no matter what).
If you are working with surface mount assembly, your soldering process will be different than it is for through-hole soldering. Remember, the quality of electronic components all boils down to the quality of the soldering job. Don’t be discouraged if your first hand-soldering job isn’t perfect. By following these steps and practicing, you can end up with high-quality work that will produce printed circuit boards that last.
