Did you know that solder paste printing is a key step in surface mount technology (SMT) assembly? From smartphones to laptops, solder paste printing ensures that tiny components stay in place on circuit boards.
But what exactly is solder paste printing, and why is it so important? In this article, we’ll explore its role in SMT manufacturing and how it works.

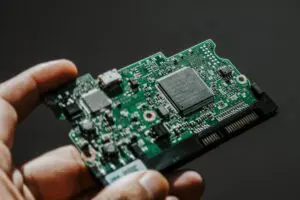
(Arturo A/pexels)
What is Solder Paste?
Solder paste is a thick, sticky substance that helps attach electronic parts to circuit boards. It contains a mix of flux and powdered metal, usually tin, bismuth, and silver. These components work together to ensure strong connections and prevent oxidation during the soldering process.
Solder paste is made of two main parts: flux and powdered metal. In this case, the metal includes tin, bismuth, and silver. Solder paste looks like a thick paste with tiny metal balls suspended in it.
These metal balls come in different sizes, measured from T-1 to T-8. For example, T4 paste has particles between 20 and 38 microns. The size of these particles matters because it determines the nozzle size you need to avoid clogs.
Flux in the paste has several jobs. It carries the metal particles and stops them from oxidizing. It also helps the metal stick to the board. Different types of flux work better with different boards.
Printing Solder Paste on PCBs in SMT Assembly
Printing solder paste onto a PCB ensures components stay in place. Precise application prevents short circuits or weak connections. A stencil deposits the right amount of solder paste on each pad.
Manual Solder Paste Printer
For those starting out or with small projects, manual solder paste printers offer a budget-friendly option. Use a squeegee, stencil, and paste to print solder onto your board. This method works well but can be tricky for tiny parts.
Semi-Automatic Solder Paste Printer
In small factories, semi-automatic printers handle varied products. These printers automate paste printing but require manual board loading and alignment. Skilled hands avoid errors and ensure quality.
Automatic Solder Paste Printer
Large scale factories use automatic solder paste printers. Set the parameters, and the machine loads the board, aligns the stencil, prints the paste, and moves the board to the next step. This system speeds up production and minimizes mistakes.
Key Components in Solder Paste Printing
Solder paste printing uses several important tools. Let’s look at the main ones.
Squeegees
Squeegees are tools used to spread solder paste across the stencil and onto the PCB. They come in different materials and designs, and these variations affect their performance.
• Rubber Squeegees
You can use rubber squeegees for many tasks. They are soft and cheap. However, they wear out quickly and need frequent checks. This trait makes them ideal for general tasks rather than performing detailed work.
• Metal Squeegees
Metal squeegees last longer and need less maintenance. They work great for precise tasks. Although they cost more, you can use them to carry out detailed jobs.
Stencils
Stencils are essential for applying solder paste accurately. They control where the paste goes on the PCB. There are three main types of stencils: chemically etched, laser-cut, and electroformed.
• Chemically Etched Stencils
You can use chemically etched stencils for many tasks. These stencils have smooth walls, which helps in applying paste evenly. They are versatile but not always perfect for very fine details.
• Laser-Cut Stencils
Laser-cut stencils are made with lasers and are highly accurate. You can use them for detailed tasks and precise applications. Make sure to choose the right aperture size for the best results.
• Electroformed Stencils
Electroformed stencils are made by plating nickel onto a shape. They are very accurate and have smooth walls. You will find that these stencils are durable and need less cleaning.
You should pick the right squeegee and stencil for good solder paste printing. Each type has its own strengths and weaknesses. Understanding these will help you get a clean and precise application.
Setting Up and Printing Solder Paste on PCBs
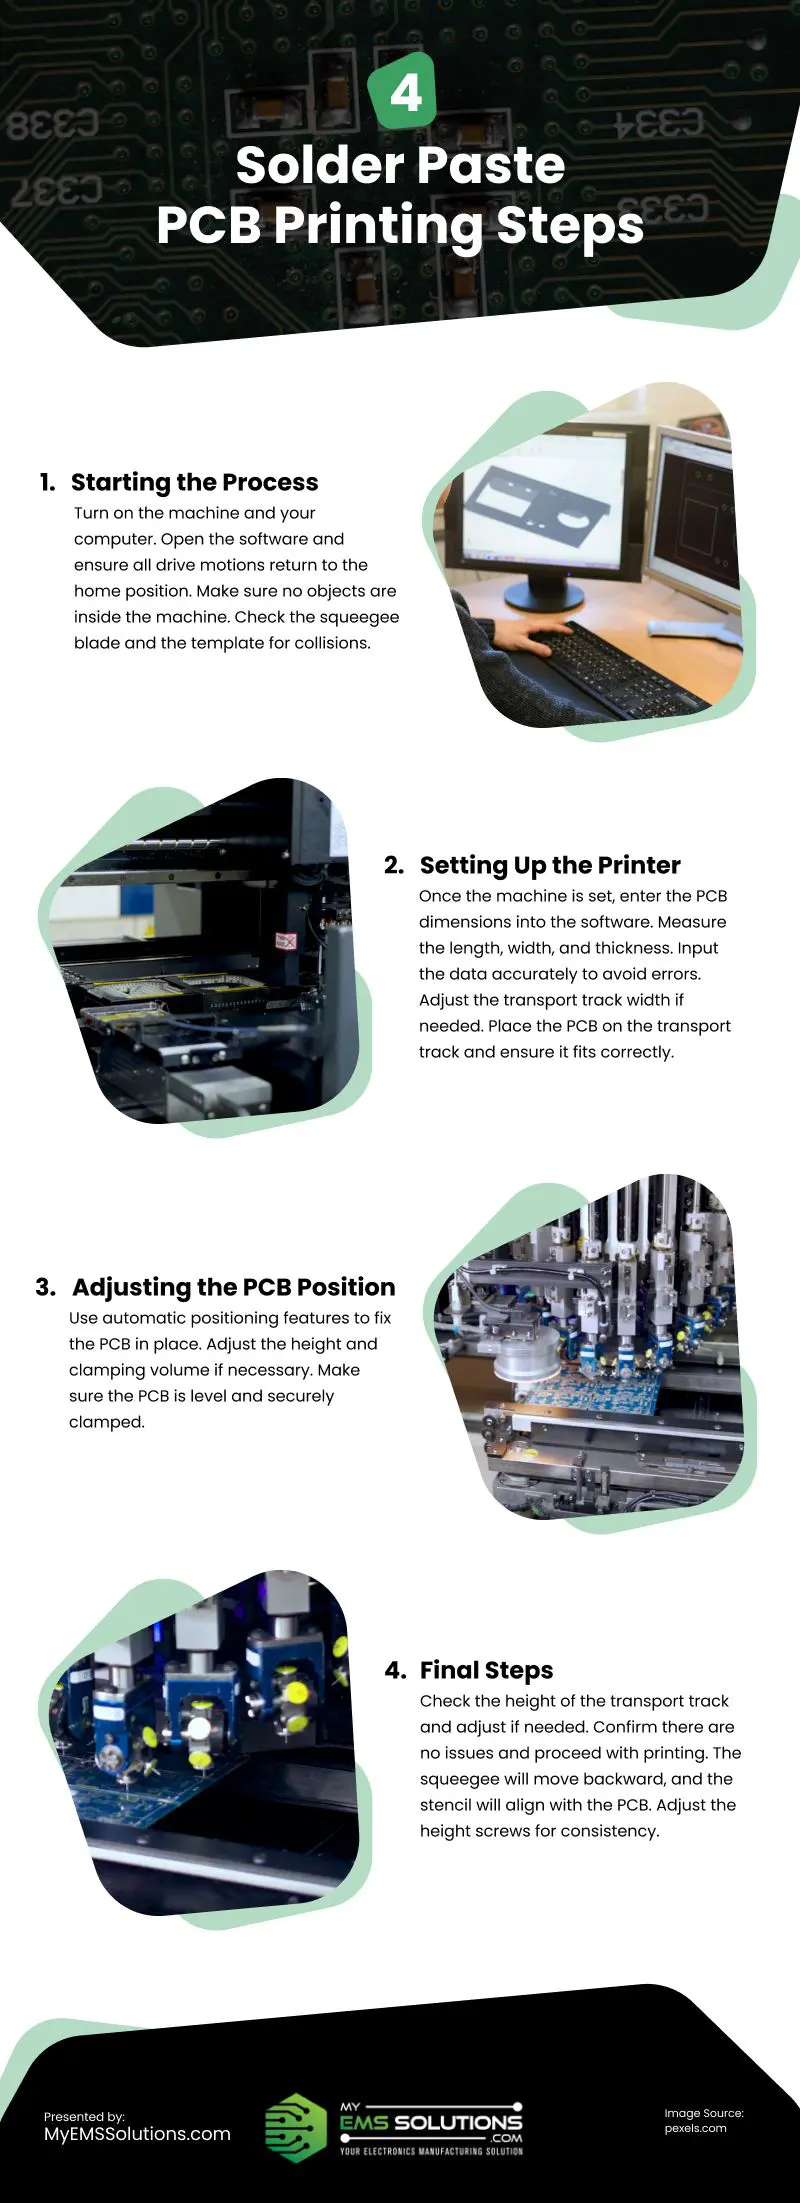
Printing solder paste on PCBs involves a few essential steps to ensure accuracy and efficiency. Follow these steps to properly set up your machine and achieve consistent results.
Starting the Process
Turn on the machine and your computer. Open the software and ensure all drive motions return to the home position. Make sure no objects are inside the machine. Check the squeegee blade and the template for collisions.
Setting Up the Printer
Once the machine is set, enter the PCB dimensions into the software. Measure the length, width, and thickness. Input the data accurately to avoid errors. Adjust the transport track width if needed. Place the PCB on the transport track and ensure it fits correctly.
Adjusting the PCB Position
Use automatic positioning features to fix the PCB in place. Adjust the height and clamping volume if necessary. Make sure the PCB is level and securely clamped.
Final Steps
Check the height of the transport track and adjust if needed. Confirm there are no issues and proceed with printing. The squeegee will move backward, and the stencil will align with the PCB. Adjust the height screws for consistency.
Conclusion
To get the best results in solder paste printing, pay attention to every detail and make sure you’re working with the right squeegee and stencil for your needs. Make sure your assembly is set up properly. Regularly clean and maintain everything. By doing this, you’ll ensure your PCBs are reliable and high-quality. Questions? Contact our SMT EMS company located near Salt Lake City, Utah.
Video
Infographic
Solder paste printing is crucial for keeping small components in place on circuit boards in devices like smartphones and laptops. To achieve accuracy and efficiency, follow the essential steps in this infographic for setting up your machine properly.


